Generating Game Tiles and Tilesets
Tile-based art has a constraint that most image generation does not: every asset has to line up with a grid. A floor tile has to meet its neighbour without a visible seam. An isometric building has to sit on the same footprint as the road next to it. A texture has to repeat across a large surface without an obvious pattern. Generic image models are not built around those rules, so their output usually needs manual correction before it can be placed in an engine.
The tiles workflow in the Crafiq studio is built around that constraint. It has six modes, each aimed at a different kind of tile-based asset. The mode you pick determines which settings you get and which model runs underneath.
Single tiles
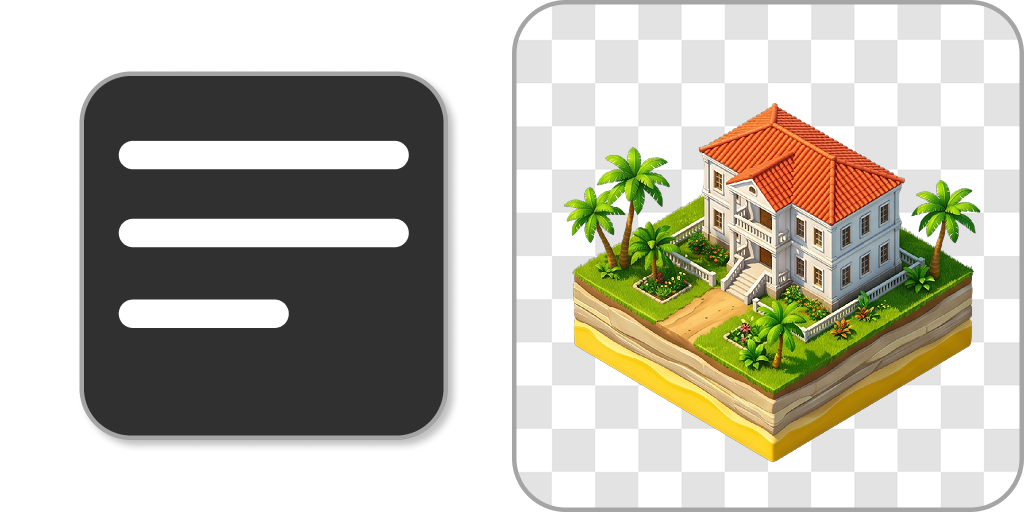
Single Tile generates one tile from a text prompt within a fixed geometry. You pick a shape (square, pointy-top hexagon or flat-top hexagon), a projection (top-down 3/4, isometric 2:1 or isometric 30°, plus a top-down 90° option for hexagons), and a tile height that sets how thick the vertical base below the footprint is: flat, low, medium or tall.
Those settings define the actual silhouette the tile is generated into, not just a description of it, so the result stays aligned to the grid instead of landing somewhere close to it. Behind the mode is FLUX.2 Klein with a tile LoRA we trained for this purpose. You can generate up to four variations at once, and transparent background is on by default so tiles come out ready to place.
Single Tile
Single Tile to Tile
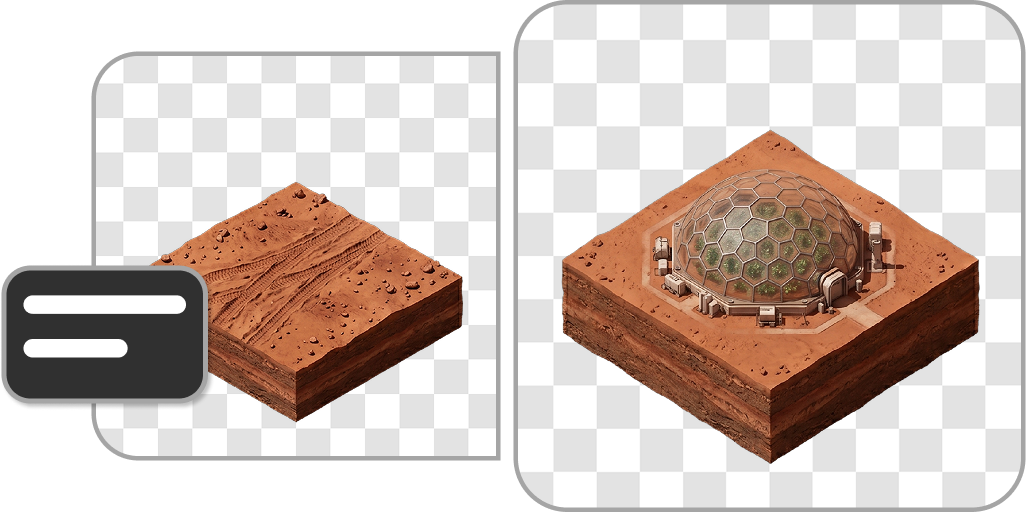
Single Tile to Tile solves the follow-up problem. Once you have a tile you are happy with, the next ten need to look like they belong to the same set. In this mode you provide an existing tile as the reference and describe the variant you want: a ruined version of a building, a snow-covered version of a path, a different structure in the same material language. The reference carries the style, projection and proportions, and the prompt supplies what changes.
Seamless textures and patterns
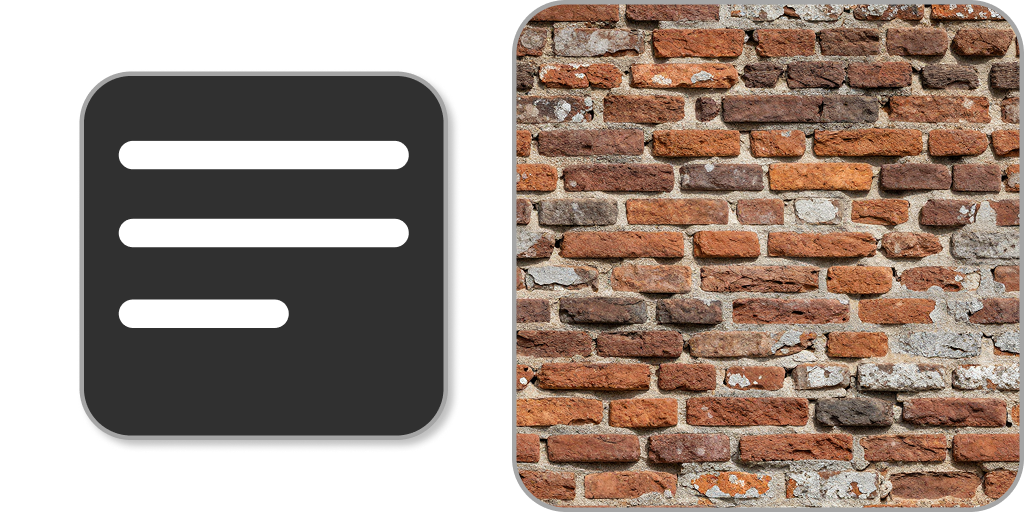
Seamless Texture produces surface material that repeats without visible seams, like cobblestone, bark, sand, plaster or fabric. The tiling is part of how the image is generated rather than something patched on afterwards, and you can choose whether it loops horizontally, vertically or both. Tiling on a single axis is useful for walls, banners or scrolling backgrounds where only one direction needs to repeat. You can also supply a reference image and use the similarity slider to set how closely the result follows it, from a loose interpretation to a close reproduction of the source material.
Seamless Texture
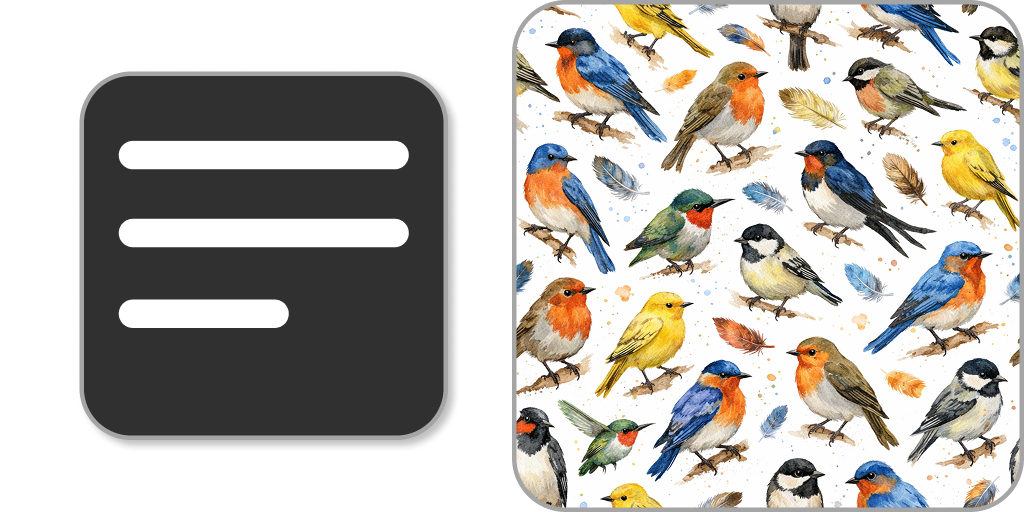
Seamless Pattern
Seamless Pattern targets repeating square patterns rather than physical surfaces: ornaments, motifs, decorative fills, UI backgrounds and print-style designs. It works from a prompt alone or from reference images used as style guidance. The output loops on all four edges, with the composition kept evenly distributed so no single element turns into an obvious focal point once the pattern repeats.
Tilesets
Generating tiles one at a time works, but consistency across a set is the harder problem. The two tileset modes generate a whole set in a single pass, which keeps lighting, palette, material treatment and level of detail coherent across every tile.
2x2 Tileset produces four tiles, a reasonable size for a small themed group: a ground tile, two variations and a landmark, for example. 4x4 Tileset produces sixteen tiles at higher resolution and is meant for a full themed set with ground, paths, stairs, props, structures and details coming out of one description.
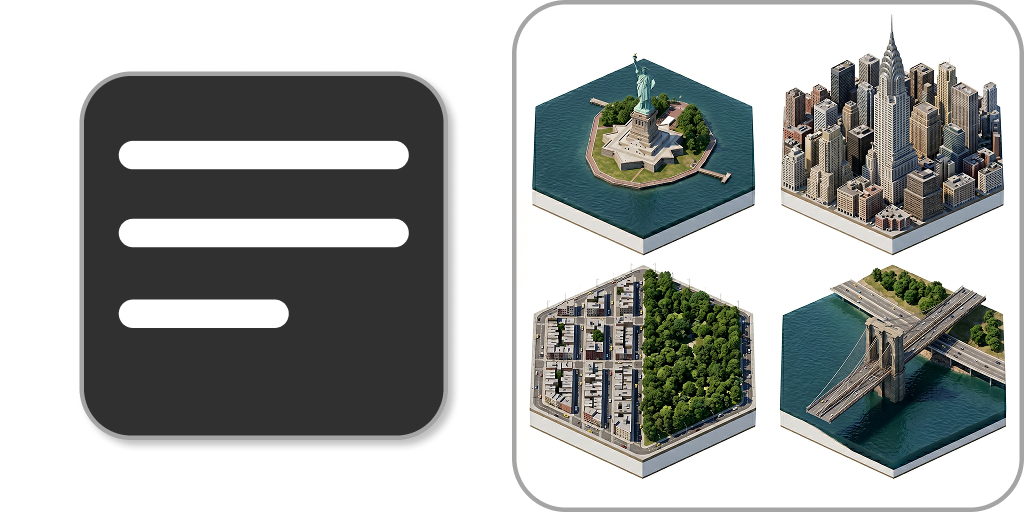
2x2 Tileset
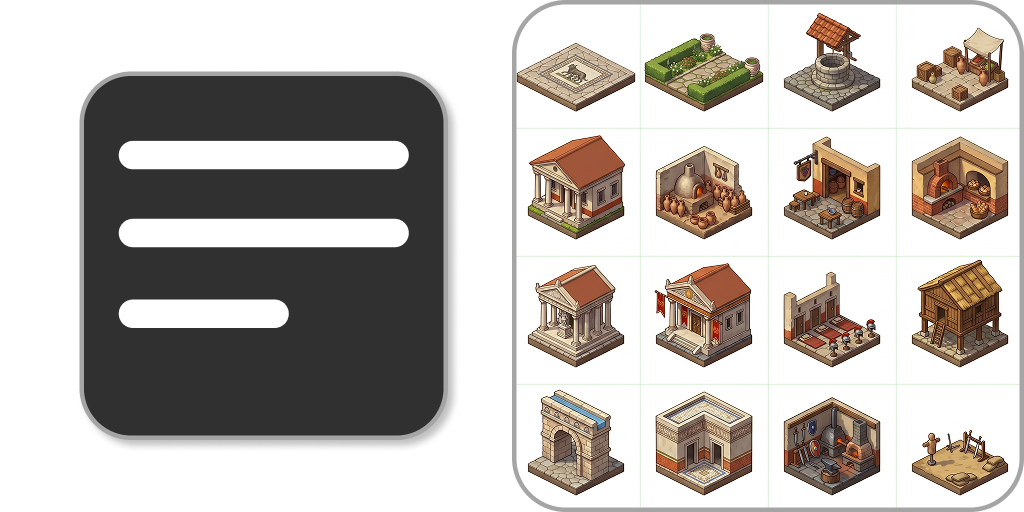
4x4 Tileset
Both modes use the same shape, projection and tile height controls as Single Tile, and every tile in the set keeps the same geometry and spacing. You can add reference images for style, material and rendering guidance without affecting the layout.
The prompt here describes the set rather than a single object: the theme, the visual style, and the kinds of tiles it should contain. The finished grid is split into separate assets in your library automatically, so you do not have to cut it up yourself.
Create your own tiles
Generate tiles, textures and tilesets in the studio.
Notes on using the output
A few things are worth knowing before you build a level around generated tiles.
- Pick the projection before the prompt. Projection determines how tiles align on the grid, and mixing 2:1 and 30° isometric assets in one scene will not fit together. If you are matching an existing project, choose the projection that matches it first.
- Cutout quality depends on the tile. Transparent backgrounds are handled as a separate step after generation, so tiles with clean, well-defined edges cut out more reliably than ones with soft or busy borders.
- Tilesets are a starting point, not a final atlas. The split gives you individual assets, but which tiles you actually need, and how they connect, is still a design decision. Single Tile to Tile is the practical way to fill the gaps afterwards.
The tiles workflow is available now in the Crafiq studio, and the LoRA behind the single tile modes is published on Hugging Face.